1) Aloe Gel Coat (gentle, soothing, and practical)
Aloe gel can help keep the cut surface from drying while providing a mild protective layer.
How to use it:
- Cut an aloe leaf and scoop out the clear gel
- Dip the cut end of the root piece into the gel (a thin coat is enough)
- Plant immediately
Best for: gardeners who want the simplest, least messy option.
2) Honey Water Dip (for cleanliness and infection control)
Honey is popular in gardening because it can help create an unfriendly environment for microbes on fresh cuts.
How to use it:
- Mix 1 teaspoon of honey into 1 cup of lukewarm water
- Dip the cut end for 5–10 seconds
- Let excess drip off, then plant
Important: don’t use thick globs of honey. Sticky layers can trap moisture and encourage issues in poorly aerated mixes.
3) Comfrey “Green Tea” (nutrient-rich plant soak)
Comfrey is often used as a garden tonic. As a rooting helper, it’s best used as a light mist or occasional watering, not constant soaking.
How to make it (quick method):
- Add a handful of fresh comfrey leaves (or a small handful dried) to a jar
- Cover with hot water and steep until cooled
- Strain and dilute it until it looks like weak tea
How to apply:
- Mist the soil surface lightly after planting, or
- Use it as an occasional watering (not daily)
Tip: If anything smells sour or rotten, discard it. Clean is better than strong.
4) Apple Cider Vinegar Micro-Dip (use carefully!)
A very weak vinegar solution is sometimes used as a quick dip. The key is dilution. Too strong can damage tissue.
Safe, gentle dilution:
- Mix 1 teaspoon apple cider vinegar into 1 liter of water
- Dip the cut end for 1–2 seconds only
- Plant right away
Do not: increase the dose “for extra power.” With vinegar, more is not better.
Care After Planting (The “Quiet Phase”)
Root cuttings often sit quietly before doing anything visible.
Ideal conditions:
- Bright, indirect light (avoid harsh sun)
- Mild warmth: 18–24°C (65–75°F) is a sweet spot for many plants
- Even moisture, never swampy
Humidity tip (optional):
If your home air is very dry, you can tent the pot with a loose plastic bag.
- Keep the bag from touching the soil surface
- Open it daily for fresh air (stale humidity can trigger mold)
How Long Does It Take? (And What Success Looks Like)
Some cuttings sprout in a few weeks, others take longer.
Signs you’re on track:
- The cutting stays firm, not mushy
- No foul smell
- Soil remains lightly moist
- Eventually: new shoots or a gentle resistance when you tug very lightly
Common problems and fixes:
- Mushy/black cuttings: too wet, poor airflow, dirty tools, heavy soil
Fix: use a lighter mix, reduce watering, improve ventilation - Shriveled/dry cuttings: too dry, too warm, direct sun
Fix: increase moisture slightly, use indirect light, consider a humidity tent - Mold on surface: stagnant air + too much moisture
Fix: remove moldy top layer, increase airflow, water less often
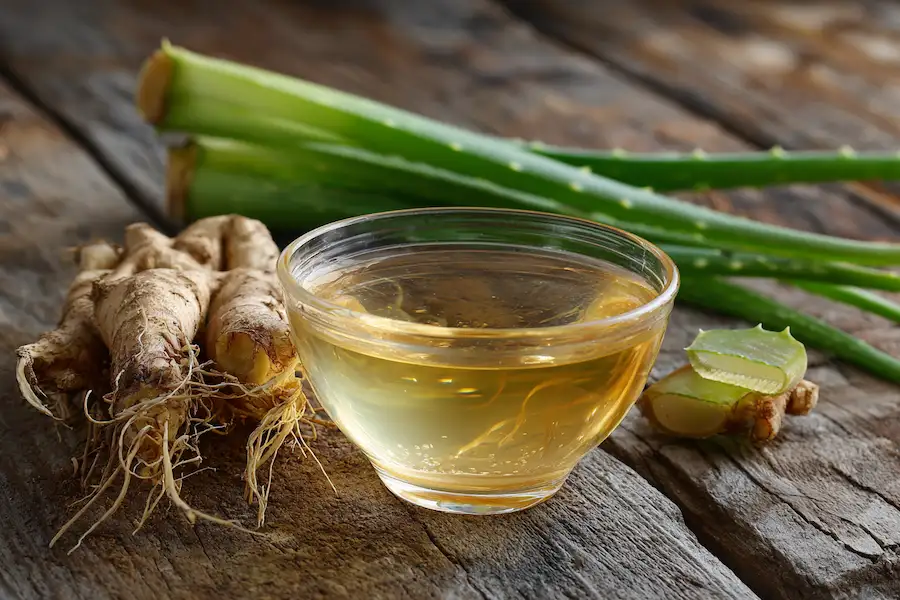
Root cuttings are a simple way to multiply plants naturally. You don’t need fancy products to succeed. If you focus on the fundamentals—healthy roots, correct orientation, airy soil, and steady moisture—homemade rooting helpers like aloe gel, honey water, comfrey tea, or a carefully diluted vinegar dip can be a helpful bonus.
If you want, tell me what plant you’re propagating and whether you’re doing this indoors or outdoors, and I’ll tailor the cutting size, planting depth, and aftercare to that specific plant.
